Clothing Line Production - How To Get Ready For Manufacture
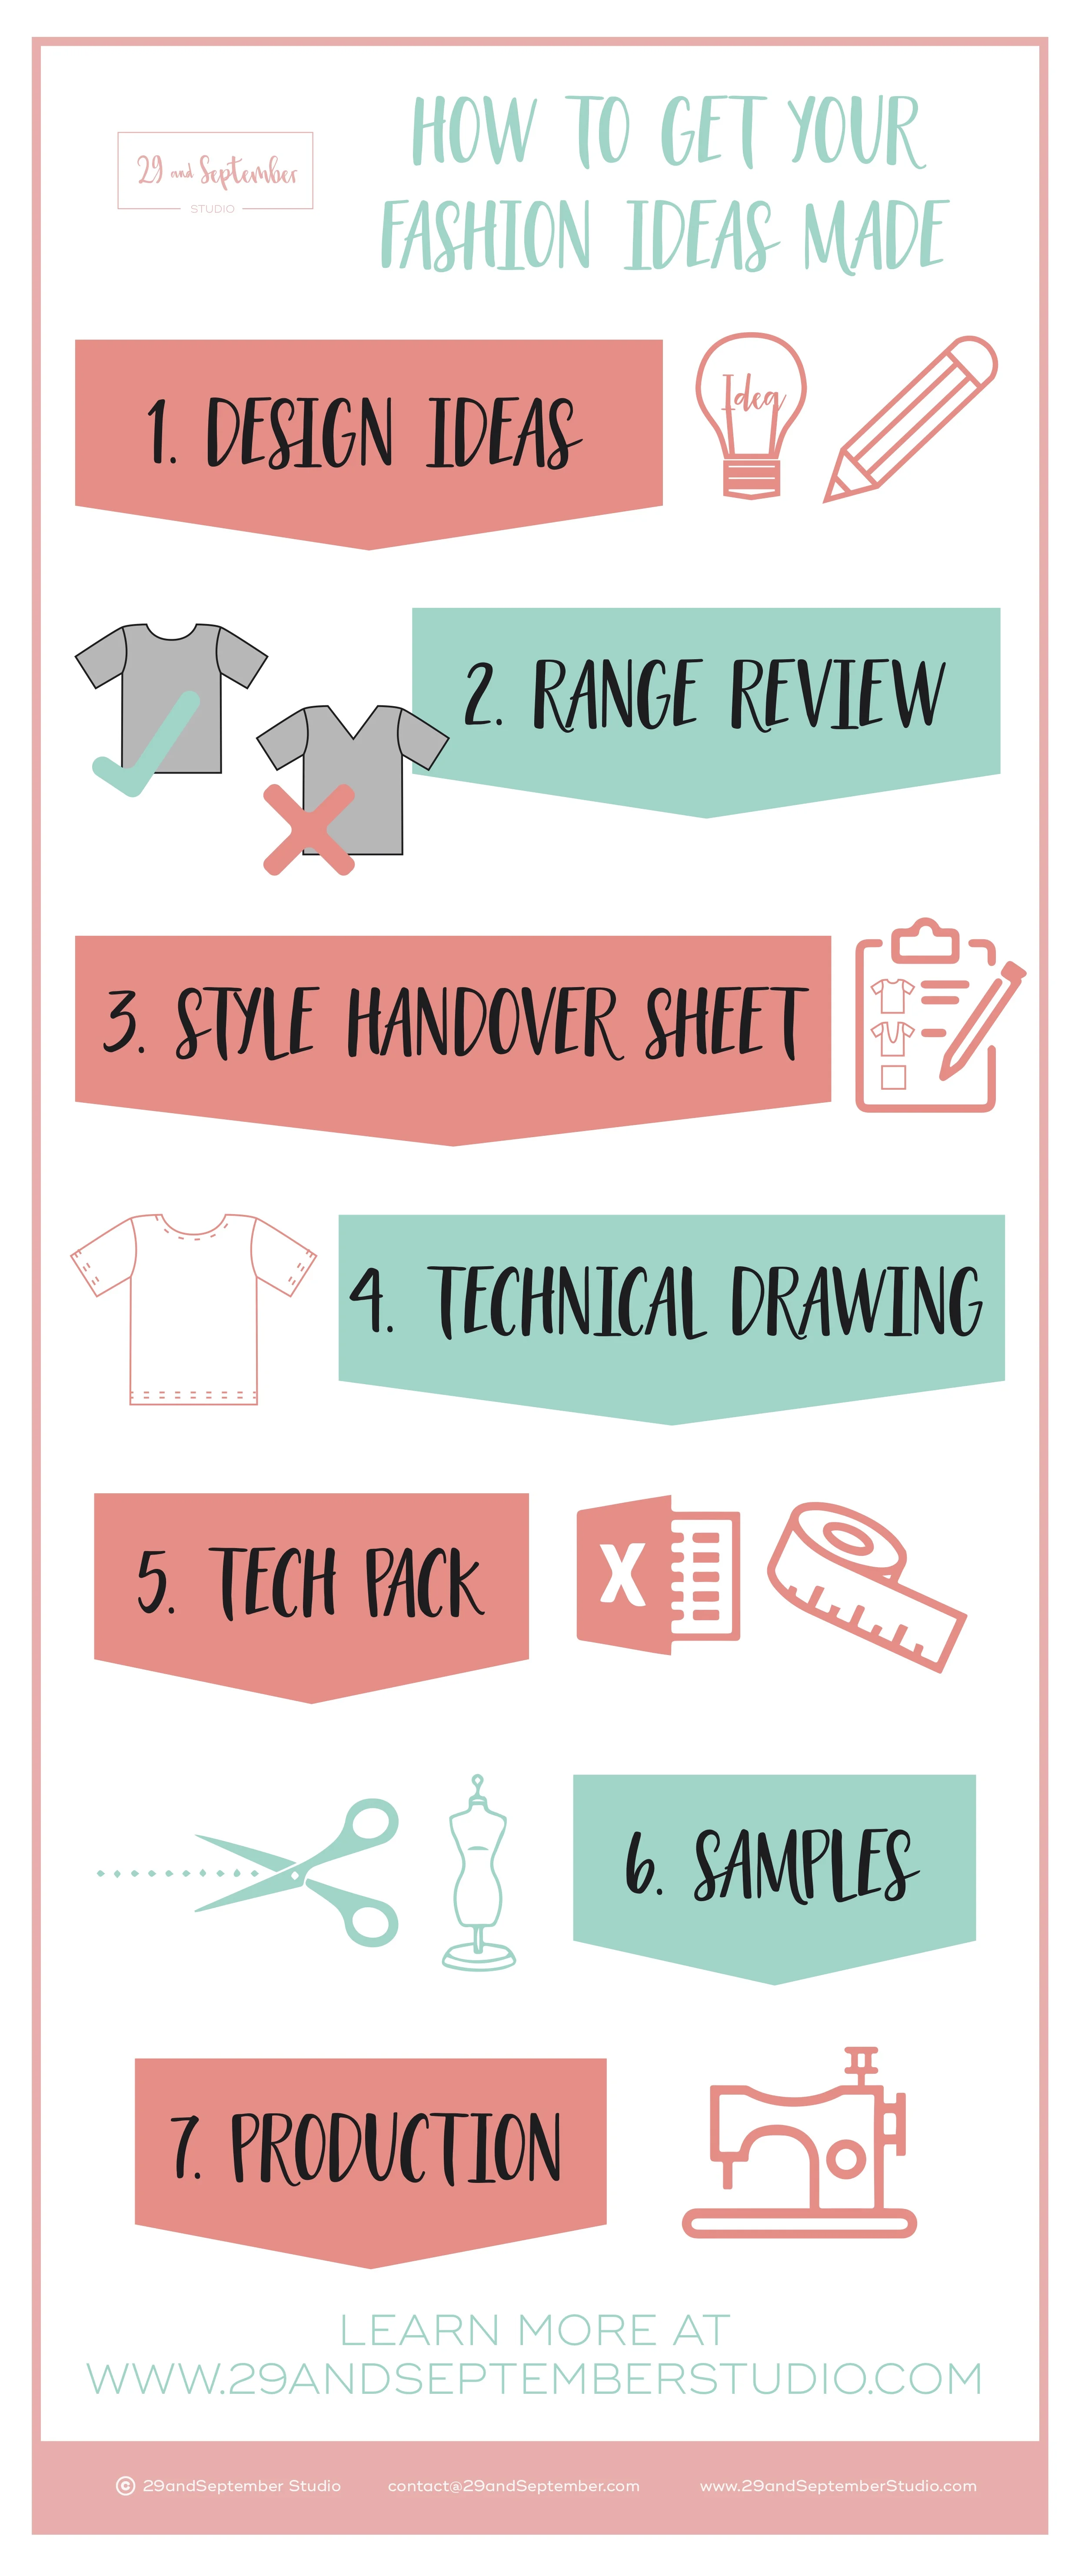
A lot of people email me wanting to know how they can get their clothing line produced. I’ve written a lot of articles about this over the years, so I thought I’d link to all of them from one post, so that people can easily get a quick overview and learn more about the key steps. The graphic above gives a super quick insight into this, but of course if you’d like more depth and details of each part of those 7 steps above, you can check out The Fashion Startup Online Course here.
Step 1; Design ideas
I’m sure you’ve got lots of ideas in your mind and it’s a great idea to get those clearly down on paper so that you can show your ideas to others for feedback and advice. If you don’t have great drawing skills, that’s not a problem. You can find out how to communicate your ideas effectively in this blog post (click to read).
Step 2; Range Review
Usually I find that people have more ideas than required (myself included!). Range reviews are essential in established fashion brands and they are equally as important for startups. A range review involves critically looking at your designs and deciding which ones to move forward with. To create a cohesive range you need to think about things like the fabrics, colour palette, how things can be worn together, what the marketing will look like. It’s also important to think about costs and manufacture at this stage and choose designs that you can manufacture profitably. Most important of all is to make sure that the products are something your target customer will love and want to buy.
Step 3; Style Handover Sheet
When you’ve finalised your range and decided on the styles and colour/print options, you’ll want to create style handover sheets. This gives your garment technologist (who will work with you on steps 4 and 5) a clear idea of your vision and preferences. The style handover sheet asks for information like the type of fabric you like, the colour, size range and sample size.
Step 4; Technical Drawings
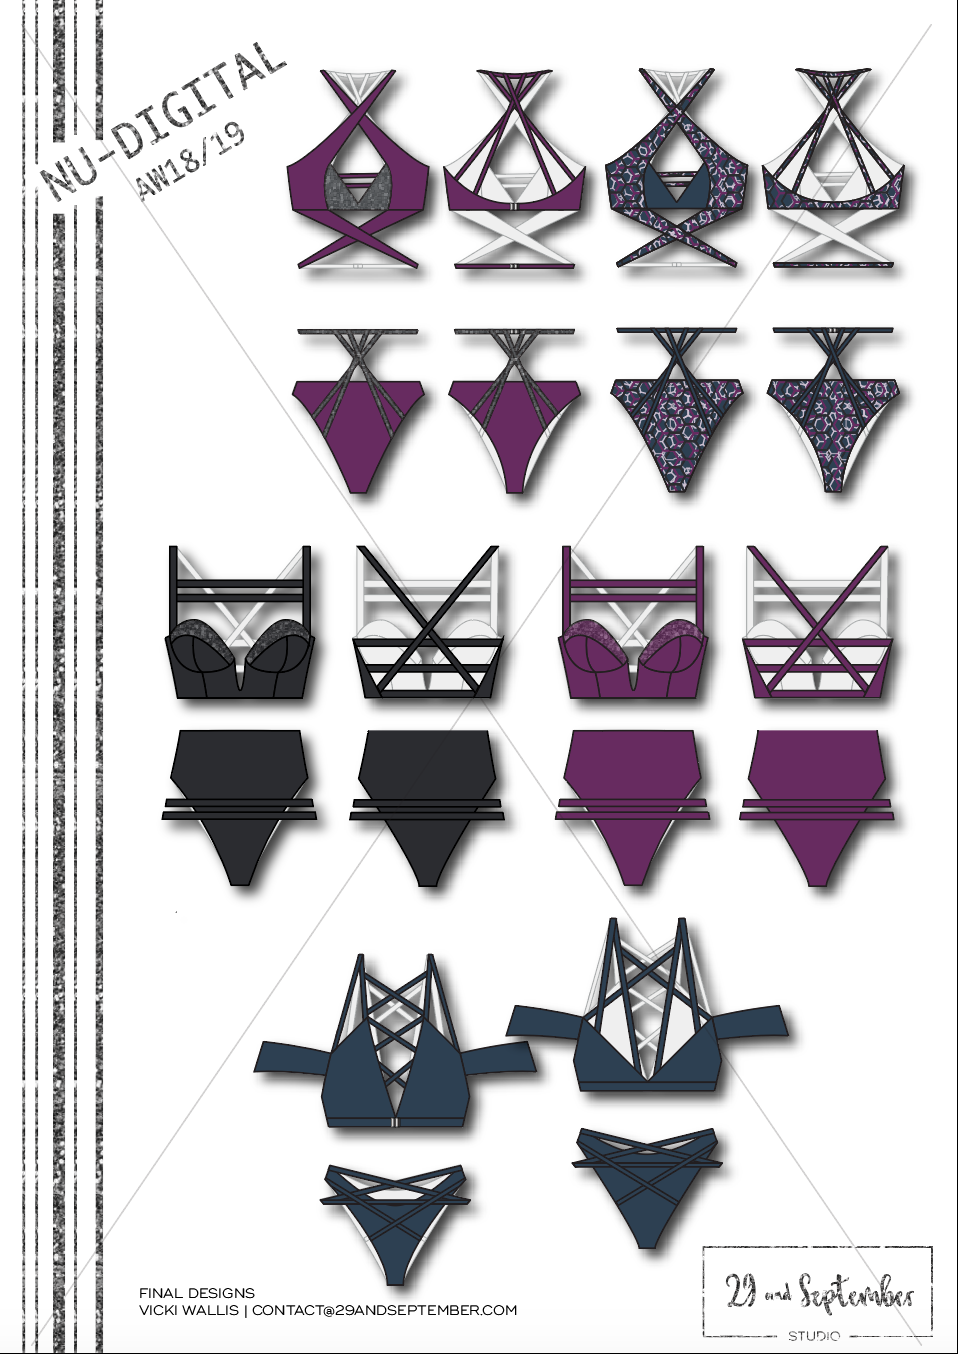
Technical drawings are usually created in Adobe illustrator and show the garment in real proportions (not model proportions) and laid out flat - like the examples below. They don’t show any movement and aren’t a stylish illustration - these are purely for manufacturing purposes and need to be really clear and accurate. They should show all trims, fastenings and stitch details. There’s a full article on technical drawings that you can read here.
------------ ⭐️ Want support with your fashion brand? ⭐️ ------------
-------------------------------------------------------------------------------
Step 5; Tech Packs
Tech packs are essential for clothing production and one of the most important things you’ll need for your brand. I meet lots of people who cut corners and didn’t invest in tech packs and ended up regretting it. You can learn what a tech pack is and why it’s so important for your success, by reading this article (click to view).
Step 6; Sampling
Most products go through a minimum of 3 rounds of sampling before they are approved to bulk, with many items needing many more fittings and revisions before they are ready. When a sample is received, it must be fitted on a model and critically examined. The factory is then informed of any changes that need to be made via the tech pack and a new sample is made. This process repeats until you’re happy with the product and ready to move on to production. You can learn more about fit sessions in this article here.
Step 7; Manufacture
When you’ve approved your samples, you can move on to bulk manufacture. Always ensure that your tech pack has been updated and you have a contract in place prior to starting production. If you’re new to the fashion industry, you can learn essential manufacture terminology in this free video.
Looking for some help to make all of this happen? I specialise in bringing new brands to life and can help you to translate your ideas into a factory ready format, with accurate technical drawings and tech packs. Plus, I offer factory and fabric sourcing assistance too. You can see the full list of services that I offer in this link, or alternatively you can click here to get in touch.
------------ ⭐️ Want support with your fashion brand? ⭐️ ------------
➡️ Start here (launched brands) >>>
-------------------------------------------------------------------------------


Pickleball outfit inspiration……